How to customize css / xml / phtml / js files in Magento 2 - examples [ Tutorial ]
In this article, we’ll show practical ways to customize .css, .xml, .phtml, and .js files in Magento 2.
These patterns work for any Magento 2 theme/extension and are demonstrated with the Pearl Theme for clarity.
Summary
- Using a child theme for Magento 2 customizations
- Magento 2 CSS customization
- Magento 2 XML customization
- Magento 2 PHTML customization
- Magento 2 JS customization
- Add custom code in Footer and Head via Admin options
- Pearl Theme CSS/JS options for Category Pages, Static Pages, and Static Blocks
- Additional Magento customization resources
1) Using a child theme for Magento 2 customizations
It’s best practice to place all customizations in a child theme so core/theme updates don’t overwrite your work.
Enable the included Pearl child theme at:
Admin → Content → Design → Configuration → (Edit your store view) → Theme → “Custom Pearl Theme for Magento 2.”

Add your custom CSS here:
app/design/frontend/Pearl/weltpixel_custom/web/css/source/wp_custom.less
2) Magento 2 CSS customization
Small visual tweaks are easiest in the child theme’s wp_custom.less.
Example: Hide the search box in the header.
Add to wp_custom.less:
.block-search {
  display: none;
}
After changes, regenerate Pearl Theme LESS/CSS and flush Magento cache.
3) Magento 2 XML customization
For layout updates (moving elements, removing blocks), recreate the same module/layout path in the child theme.
In Pearl, headers come from app/code/WeltPixel/CustomHeader.
Create this in the child theme and add only your changes:
app/design/frontend/Pearl/weltpixel_custom/WeltPixel_CustomHeader/layout/default.xml
Example: Remove the currency switcher from the header.
<?xml version="1.0"?>
<page xmlns:xsi="http://www.w3.org/2001/XMLSchema-instance"
      xsi:noNamespaceSchemaLocation="urn:magento:framework:View/Layout/etc/page_configuration.xsd">
  <body>
    <referenceContainer name="header.container">
      <referenceContainer name="header-wrapper">
        <container name="header.right"
                   as="header_right"
                   label="Page Header Right"
                   htmlTag="div"
                   htmlClass="header_right"
                   after="logo">
          <referenceBlock name="currency" remove="true"/>
        </container>
      </referenceContainer>
    </referenceContainer>
  </body>
</page>
Note: If you’ve selected Header V2 in Admin, extendweltpixel_custom_header_v2.xmlinstead ofdefault.xml.

4) Magento 2 PHTML customization
When changing template output, copy the original .phtml to the same path in the child theme and edit it there.
Example: Swap “Add to Wishlist” and “Add to Compare” on the Product Page.
Copy FROM:
app/code/WeltPixel/ProductPage/view/frontend/templates/product/view/addto.phtml
Copy TO:
app/design/frontend/Pearl/weltpixel_custom/WeltPixel_ProductPage/templates/product/view/addto.phtml
Then adjust the order inside the copied template, e.g.:
<div class="product-addto-links <?= $addToCartClass; ?>" data-role="add-to-links">
  <?php if (!$removeCompare): ?>
    <a href="#"
       data-post='<?= /* @noEscape */ $compareHelper->getPostDataParams($_product); ?>'
       data-role="add-to-links"
       class="action tocompare">
      <span><?= $block->escapeHtml(__('Add to Compare')); ?></span>
    </a>
  <?php endif; ?>

  <?php if (!$removeWishlist && $this->helper(\Magento\Wishlist\Helper\Data::class)->isAllow()): ?>
    <a href="#"
       class="action towishlist"
       data-post='<?= /* @noEscape */ $_wishlistSubmitParams; ?>'
       data-action="add-to-wishlist">
      <span><?= $block->escapeHtml(__('Add to Wish List')); ?></span>
    </a>
  <?php endif; ?>
</div>

After editing templates, deploy static content / flush cache as appropriate for your mode.
5) Magento 2 JS customization (via a small custom module)
Use a lightweight custom module to load your JS.
Download the sample module structure:
https://www.weltpixel.com/resources/SampleCustomModule/Custom.zip
(Unzip under app/code/)
Enable and register:
php bin/magento module:enable Custom_Js --clear-static-content
php bin/magento setup:upgrade
php bin/magento cache:clean
Add your JS here:
app/code/Custom/Js/view/frontend/web/js/customjs.js
Example (simple AMD module):
define(['jquery'], function ($) {
  'use strict';
  return function () {
    // Your custom JS goes here
    console.log('Custom JS loaded');
  };
});

6) Add custom code in Footer and Head via Admin options
a) Footer → Miscellaneous HTML
Path: Content → Configuration → (Edit Store View) → Footer → Miscellaneous HTML
You can inject HTML/CSS/JS that will render in the footer.
<style>
  #block-shipping {
    display: none;
  }
</style>

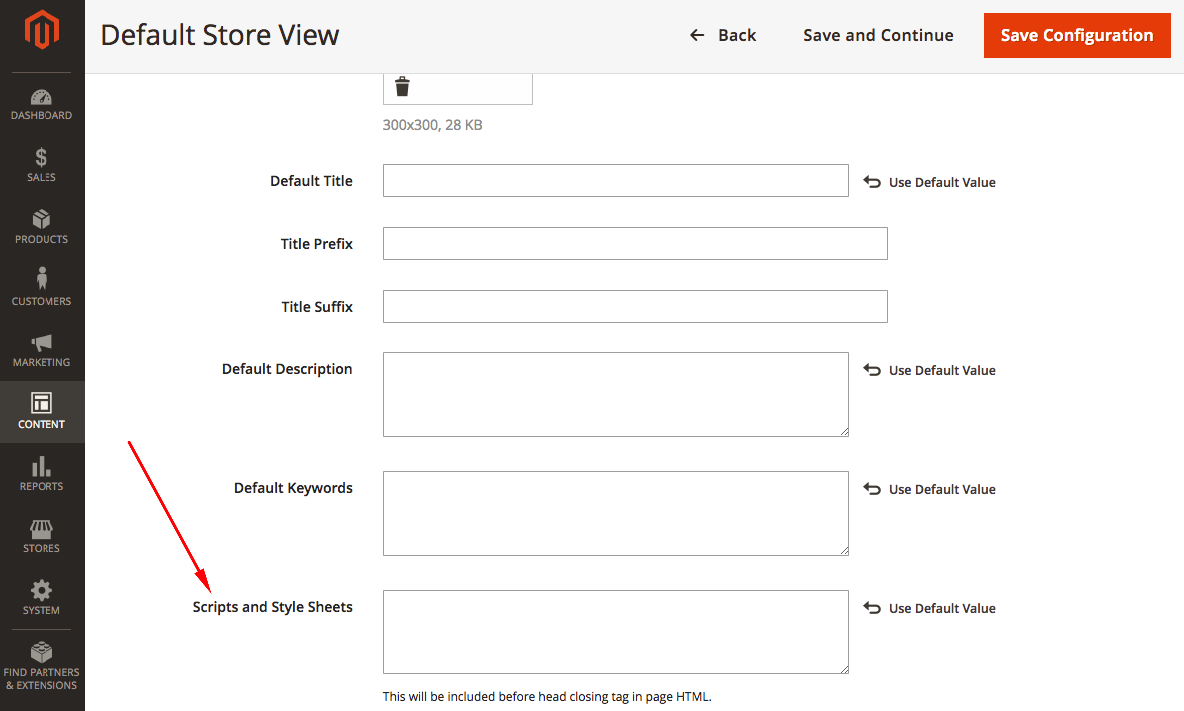
b) HTML Head → Scripts and Style Sheets
Path: Content → Configuration → (Edit Store View) → HTML Head → Scripts and Style Sheets
<style>
  #block-shipping {
    display: none;
  }
</style>
7) Pearl Theme CSS/JS options for Category Pages, Static Pages, and Static Blocks
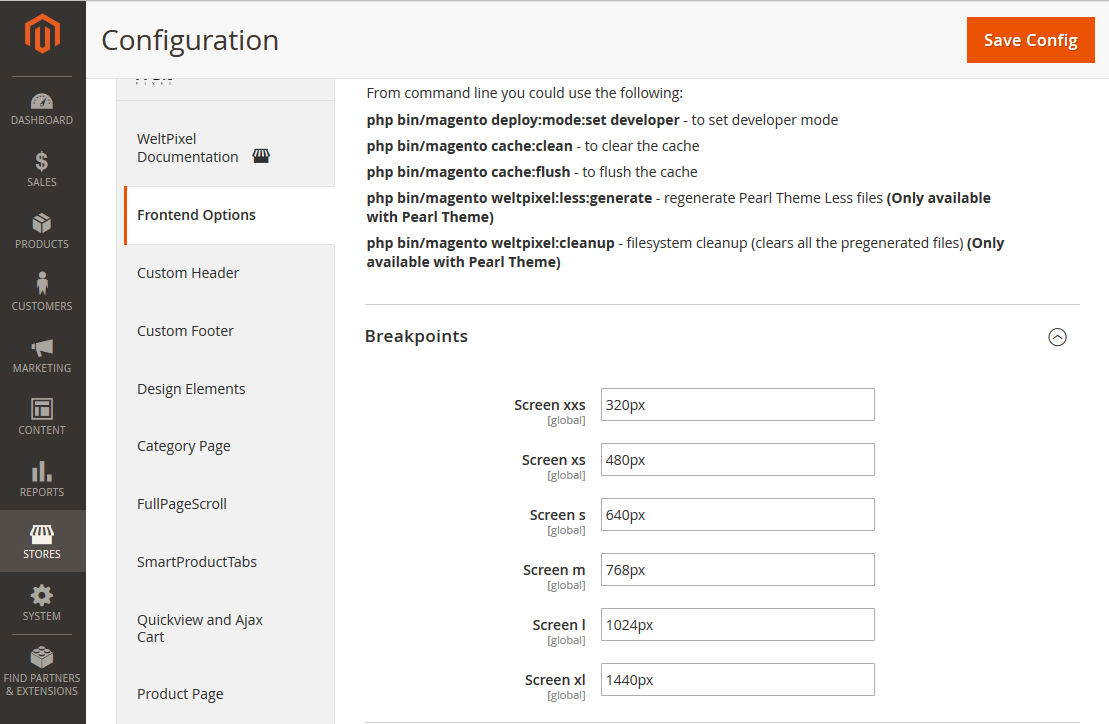
Pearl adds convenient fields for CSS/JS at multiple breakpoints.
Set breakpoints at WeltPixel → Frontend Options → Breakpoints.
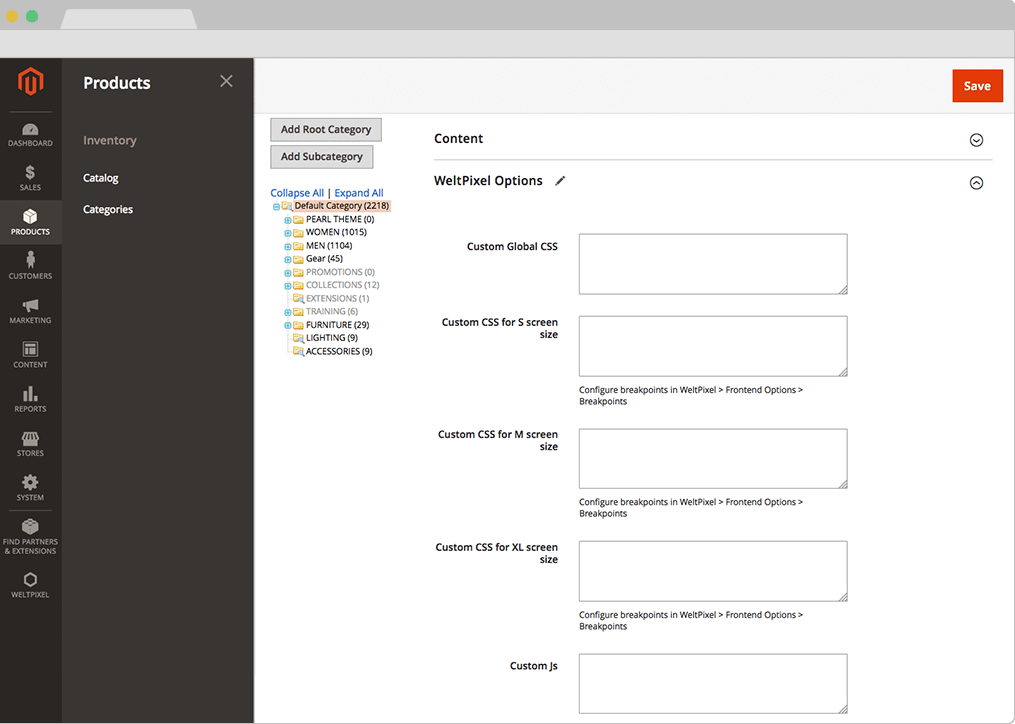
a) Per-category CSS/JS
Path: Products → Categories → (Open category) → WeltPixel options
Use Custom Global CSS/JS or breakpoint-specific fields.
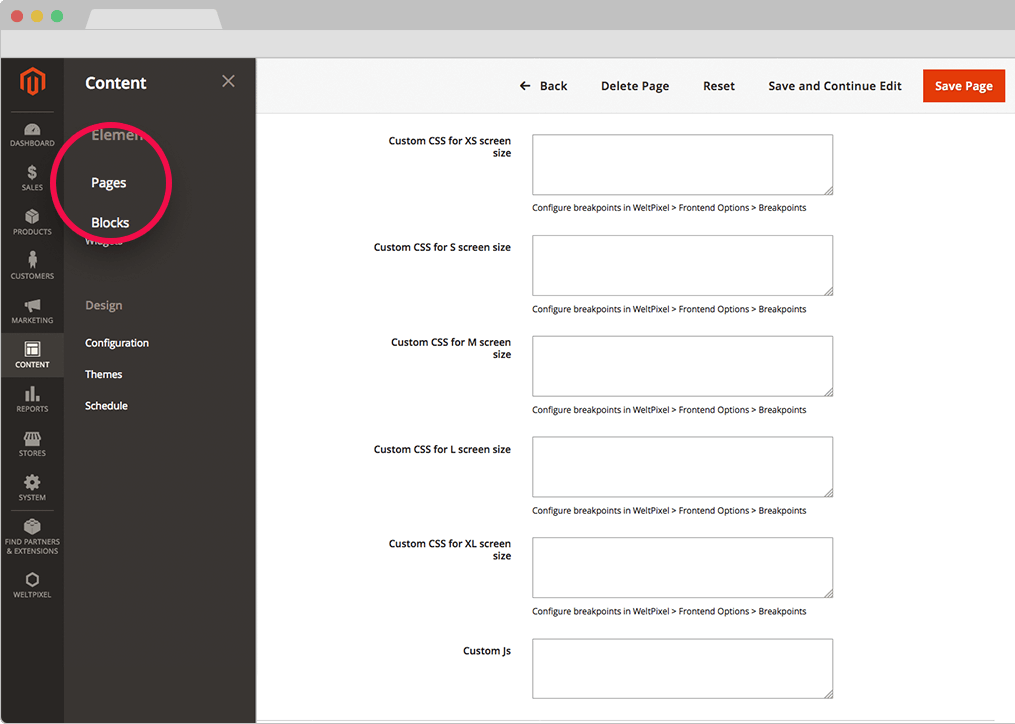
b) Per-static page CSS/JS
Path: Content → Pages → (Edit page) → Design
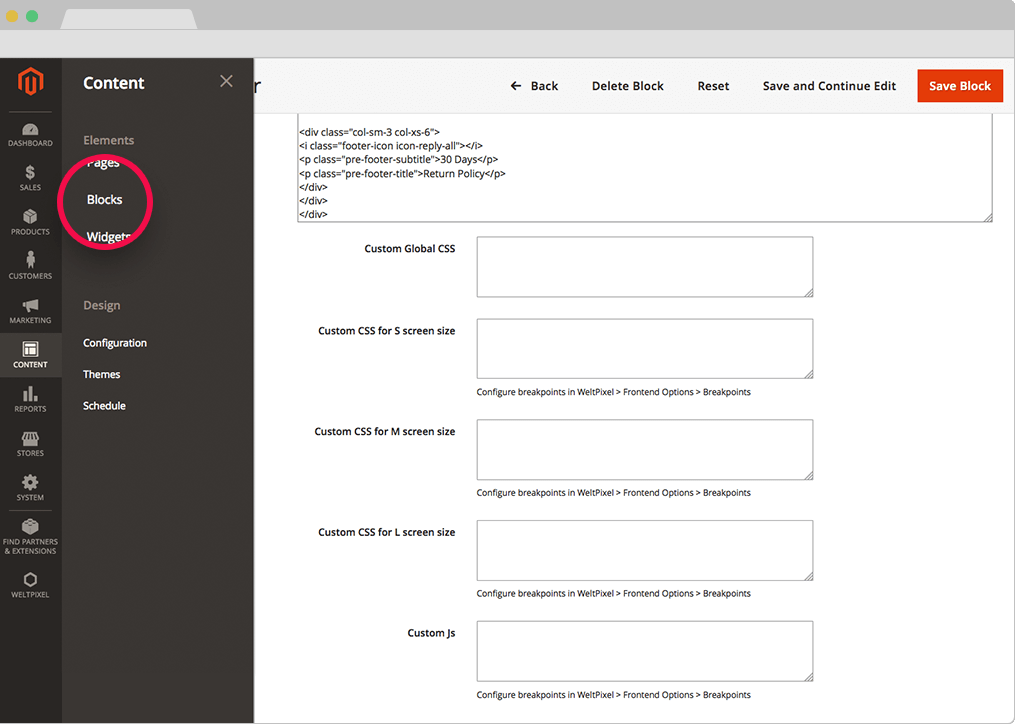
c) Per-static block CSS/JS
Path: Content → Blocks → (Edit block) — fields are under the editor.
Notes
- Breakpoint CSS cascades upward by default (applies to larger widths unless overridden).
- For global changes affecting all categories/pages/blocks, target a shared wrapper class and place CSS in the child theme as shown in section 2.
Additional Magento customization resources
- Magento Developer Guide: http://devdocs.magento.com/
- Insert CMS Block via Widget (e.g., under products on category page)
Updated on: 17/09/2025
Thank you!