
How to install an extension in Magento 2 - WeltPixel Guides

What Magento is (quick refresher)
Magento is an open‑source ecommerce platform written in PHP. It uses frameworks like Laminas and Symfony and is licensed under OSL v3.0.
Magento 2 editions at a glance
- Magento Open Source – free and fully customizable.
- Magento Commerce – enterprise features, available on‑prem or as a managed cloud PaaS.
(Older editions such as Magento Professional and Magento Go are discontinued.)
Why Magento 2 (vs. Magento 1)
- Better performance (PHP 7+, MySQL improvements, FPC + Varnish).
- jQuery replaces Prototype.js.
- Stronger security (SHA‑256 password hashing).
- Smoother checkout (Instant Purchase, guest‑to‑account flow).
- Ajax Add to Cart, improved admin UX, richer reports.
- Built‑in payment integrations (PayPal, Braintree, Authorize.net, etc.).
- Native B2B features (2.2+).
- Elasticsearch support.
- Easier product authoring (including videos).
Ways to install a Magento 2 extension
Paid WeltPixel extensions and themes install and update via Composer only (since 1.16.0). First verify compatibility and install on a staging site before production.
Method 1 — Install via Composer (CLI)
- Ensure your Composer access is configured on the instance. For purchases from weltpixel.com, get it under My Products at account.weltpixel.com. For Magento Marketplace purchases, configure your Magento Marketplace authentication keys.
- From your Magento root, run:
composer require weltpixel/module-advance-category-sorting
php bin/magento setup:upgrade
php bin/magento setup:di:compile
php bin/magento setup:static-content:deploy -f
That’s it — the module is installed.
Method 2 — Web Setup Wizard (deprecated)
Legacy method, kept for reference only. The Web Setup Wizard is deprecated, and paid WeltPixel extensions install and update via Composer only since 1.16.0.
- In Magento Marketplace → My Profile → Purchase History, click Install for the purchased extension.
- Ensure you have Access Keys (Public/Private) under My Profile → Access Keys.
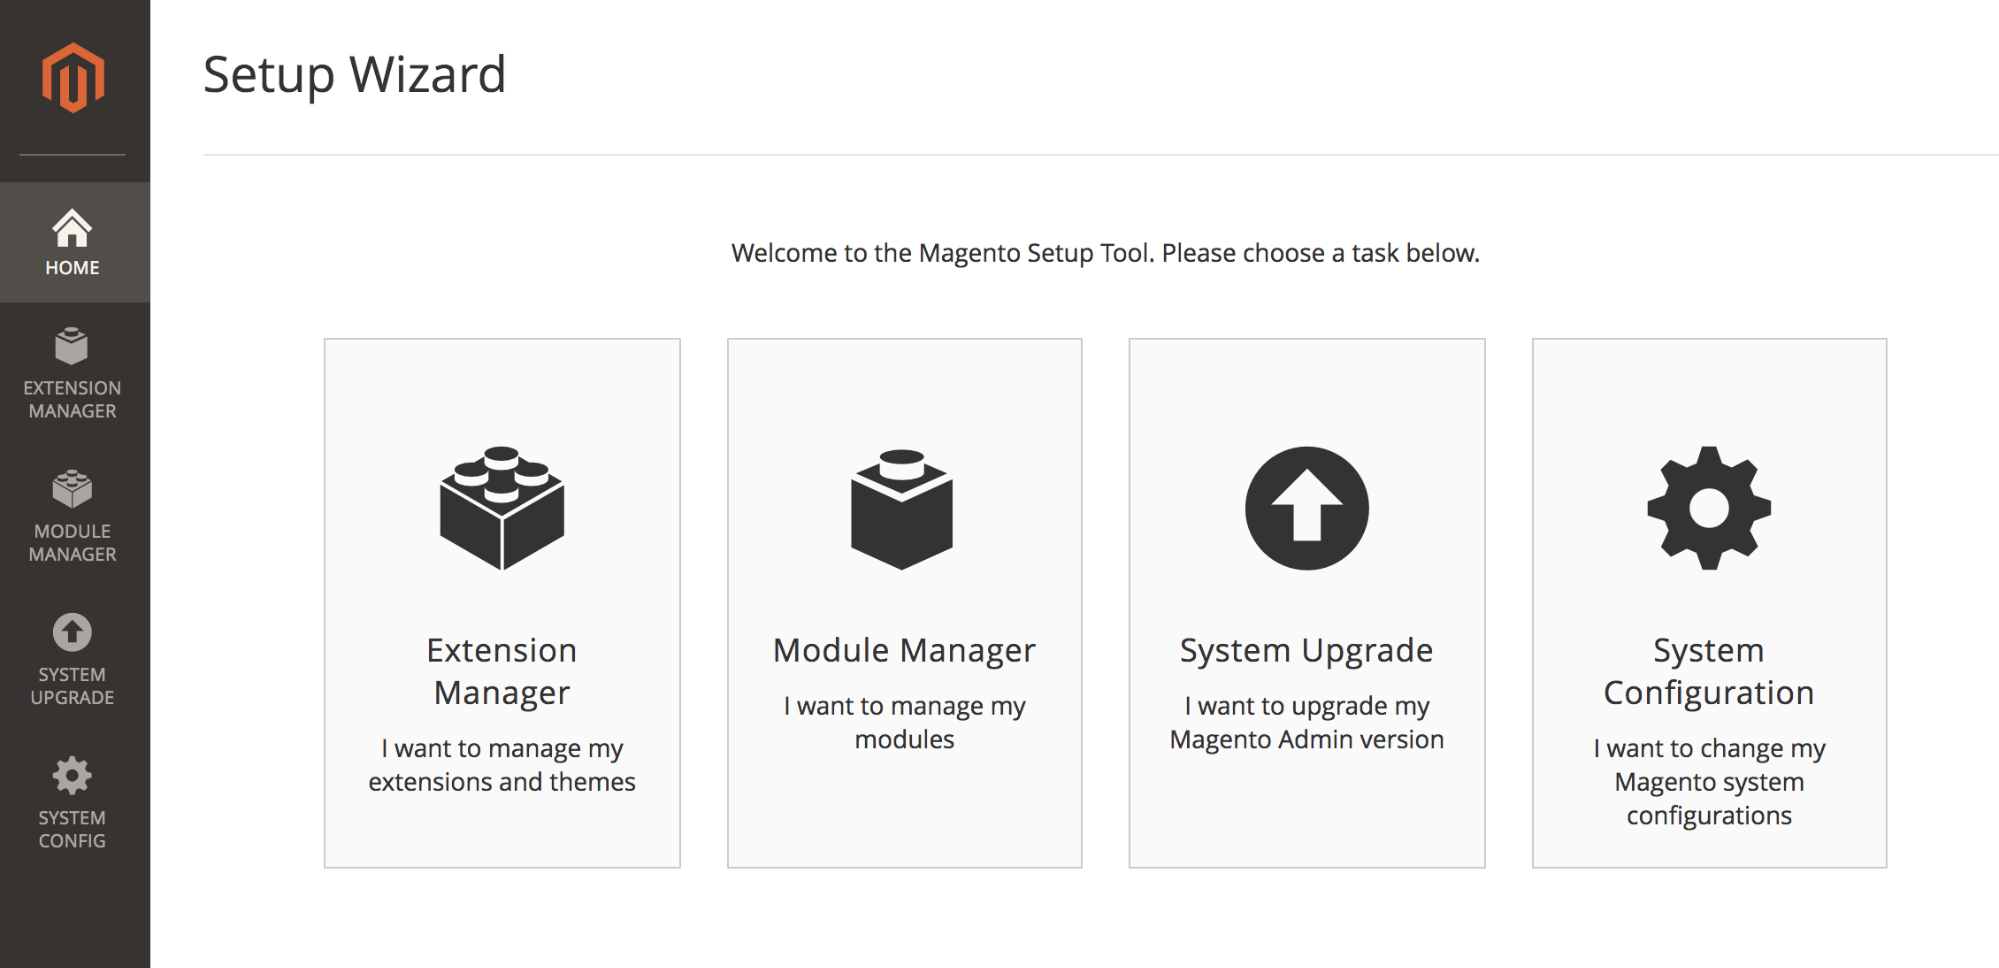
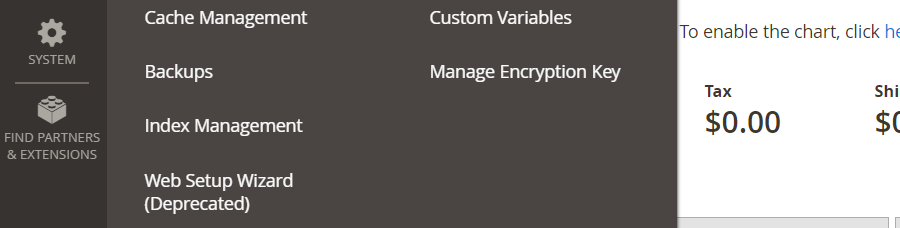
- In your Magento Admin, go to System → Web Setup Wizard (Deprecated) → Extension Manager, sign in with your keys, and Refresh to sync purchases.
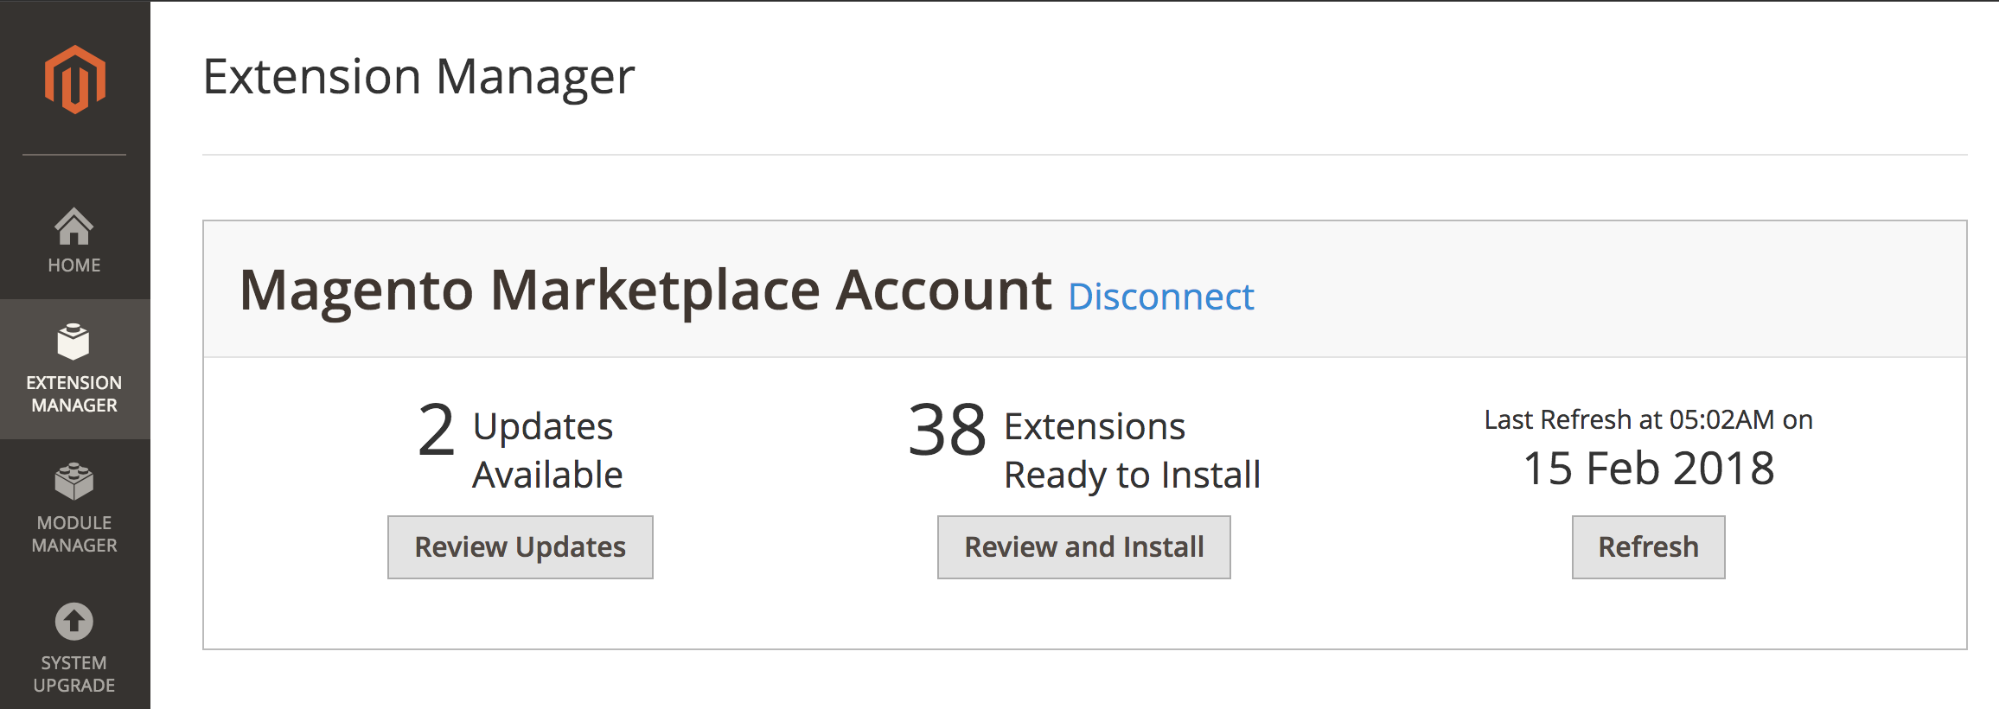
- Select the module → Install → pass Readiness Check → take a backup if prompted → proceed through Steps 1–3 until you reach Success.
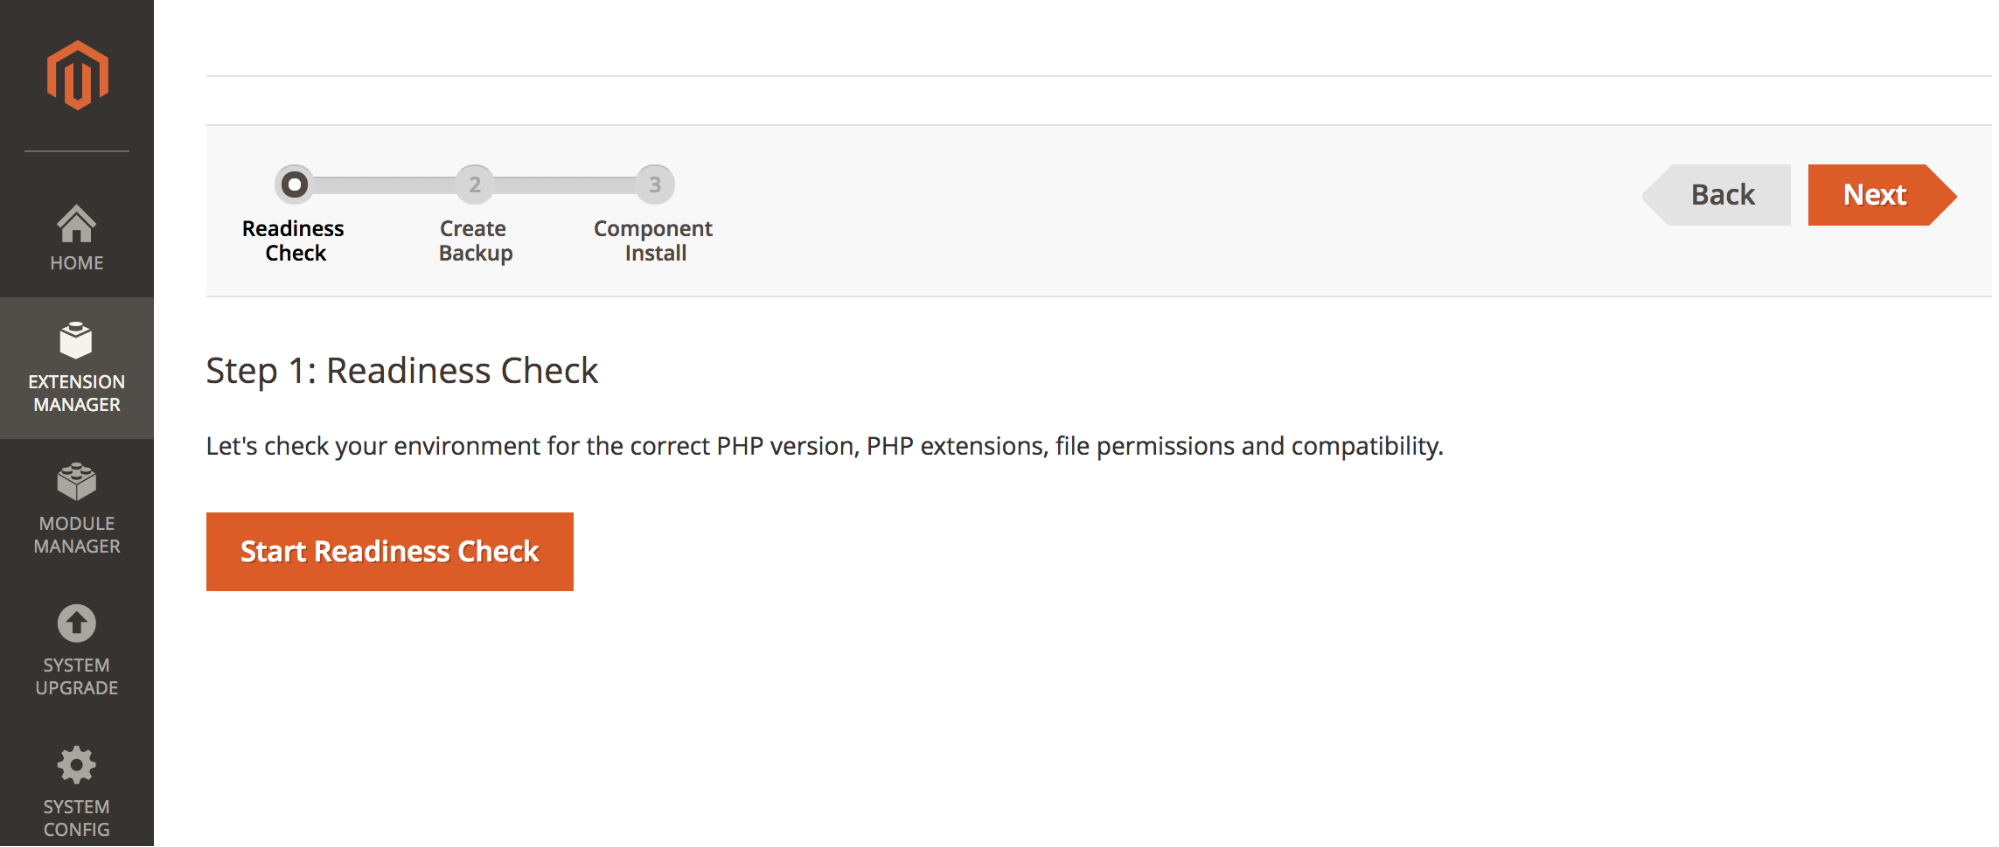
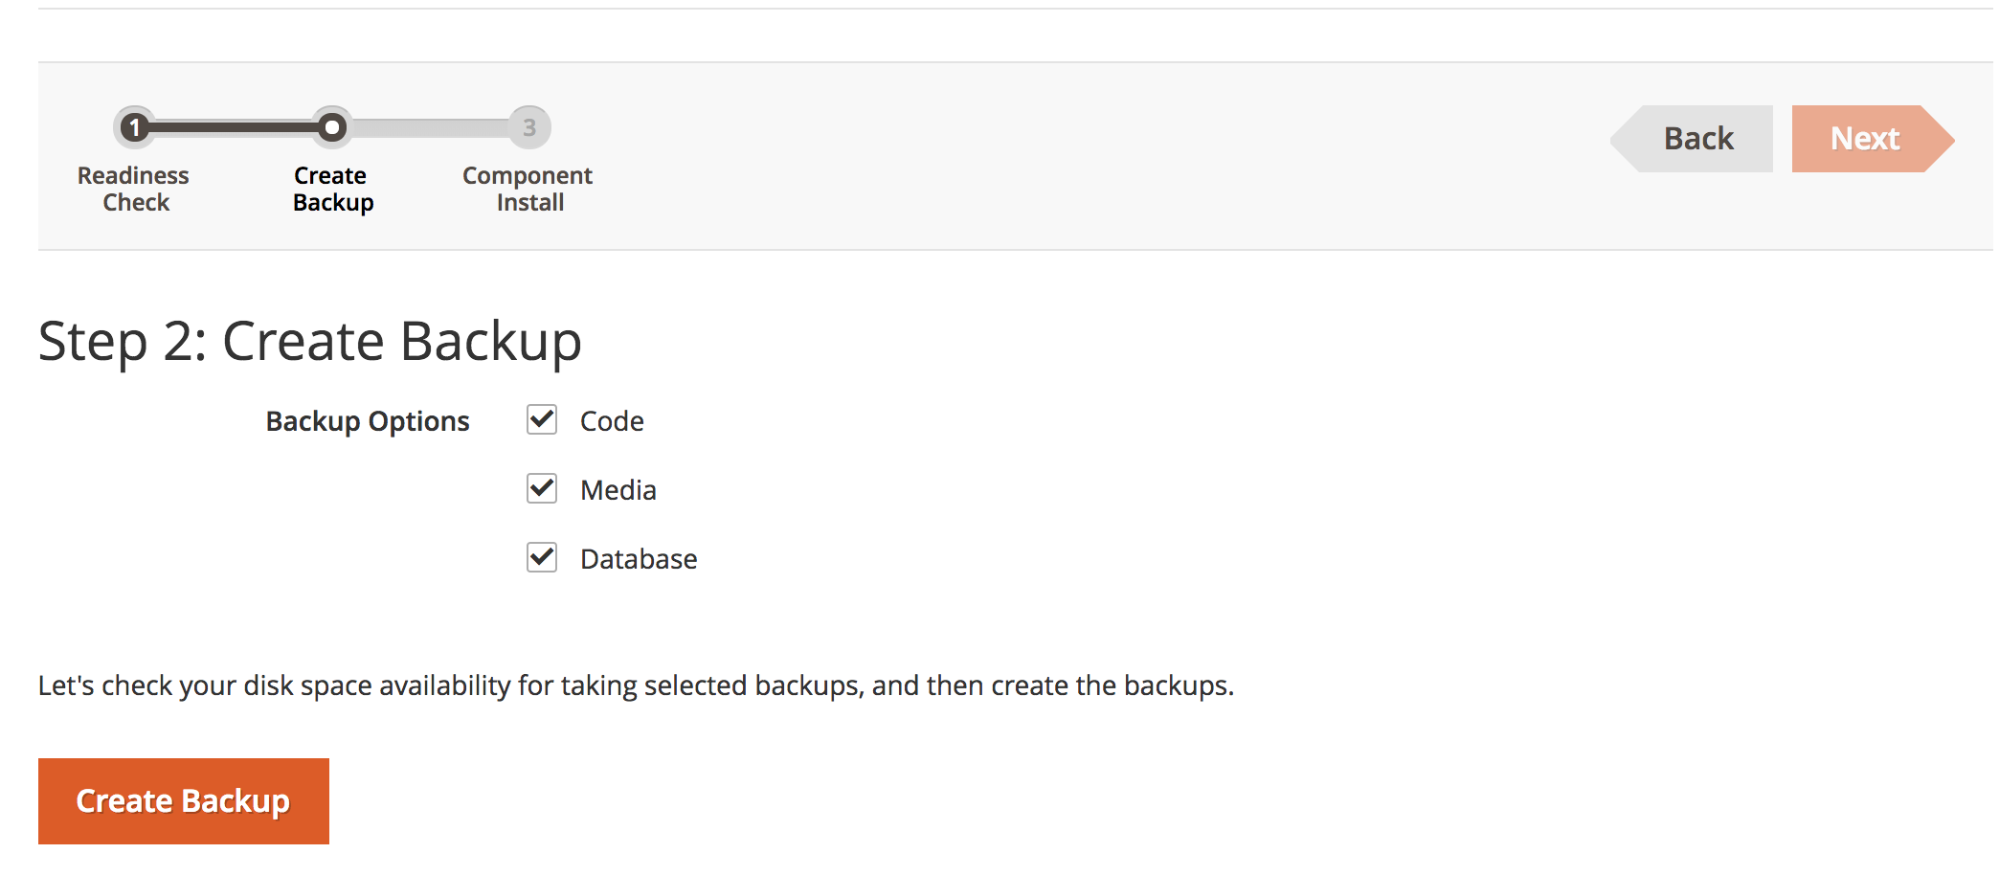
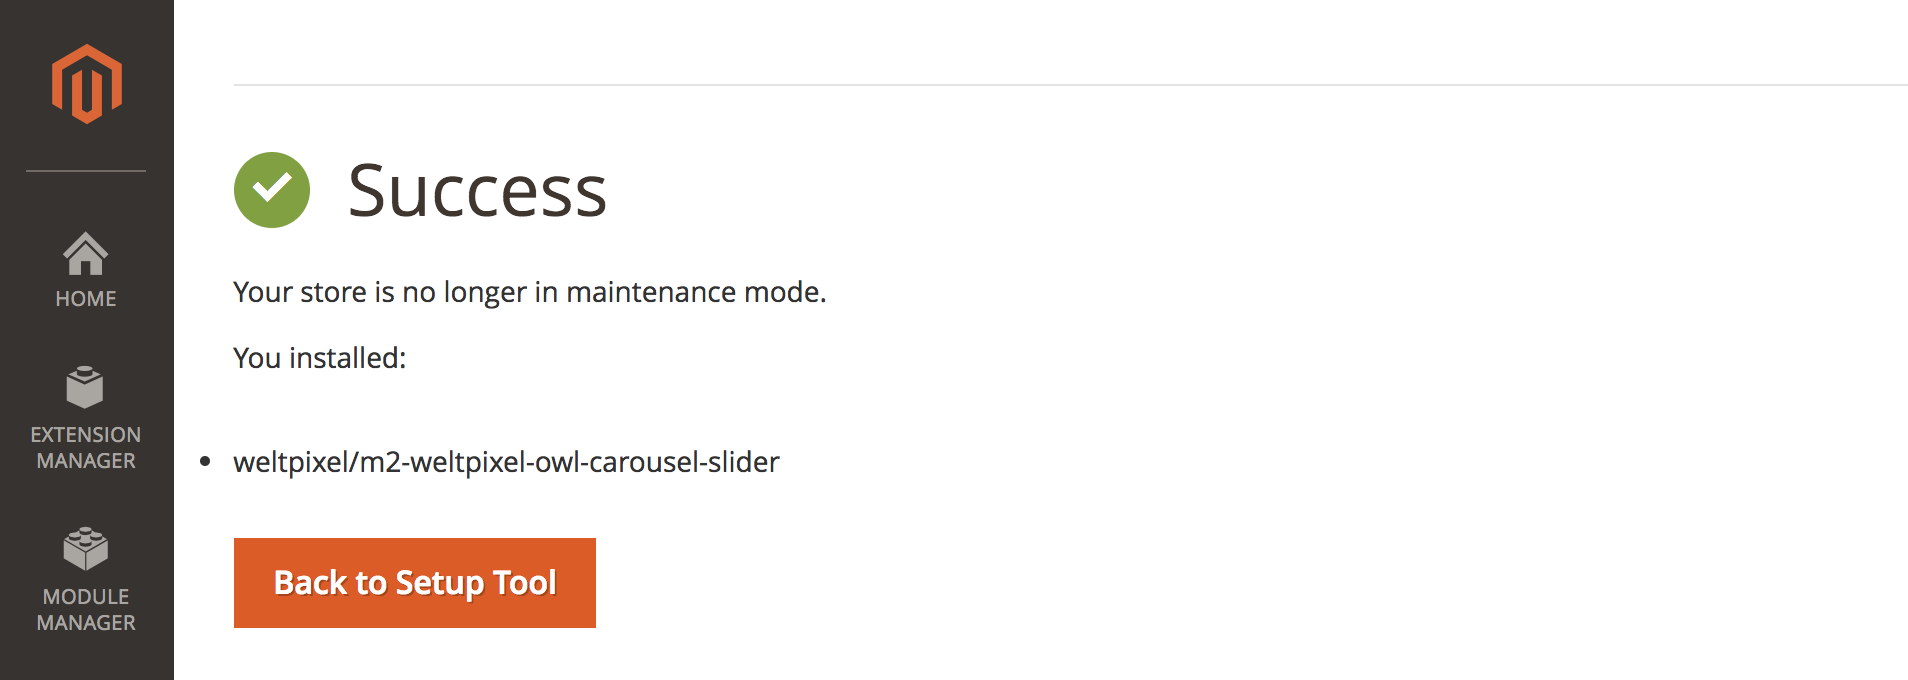
If the Readiness Check fails, verify cron is running and resolve any reported PHP extension or permissions issues.
Post‑install notes
- Always clear Magento and application caches after installation.
- For production, deploy static content and recompile DI if you installed on a running site.
- Keep extensions up to date to maintain compatibility and security.
Summary
Magento 2 is faster, more secure, and more scalable than Magento 1. Paid WeltPixel extensions install and update with Composer/CLI only (since 1.16.0). Composer access is under My Products at account.weltpixel.com.
Updated on: 28/09/2026
Thank you!